Video Walkthrough
Watch the Gate22 Getting Started video on YouTube: Gate22 Getting Started
Admin View
Sign Up and Set Up Admin Access
Navigate to gate22.aci.dev and sign up for an account.
After signing up, create your organization. We’ll set up your admin dashboard where you can manage MCP servers, teams, and permissions.
Add MCP Servers
Connect your MCP-enabled tools to your organization.
Navigate to MCP Servers and browse available MCP servers or add your own custom MCP server.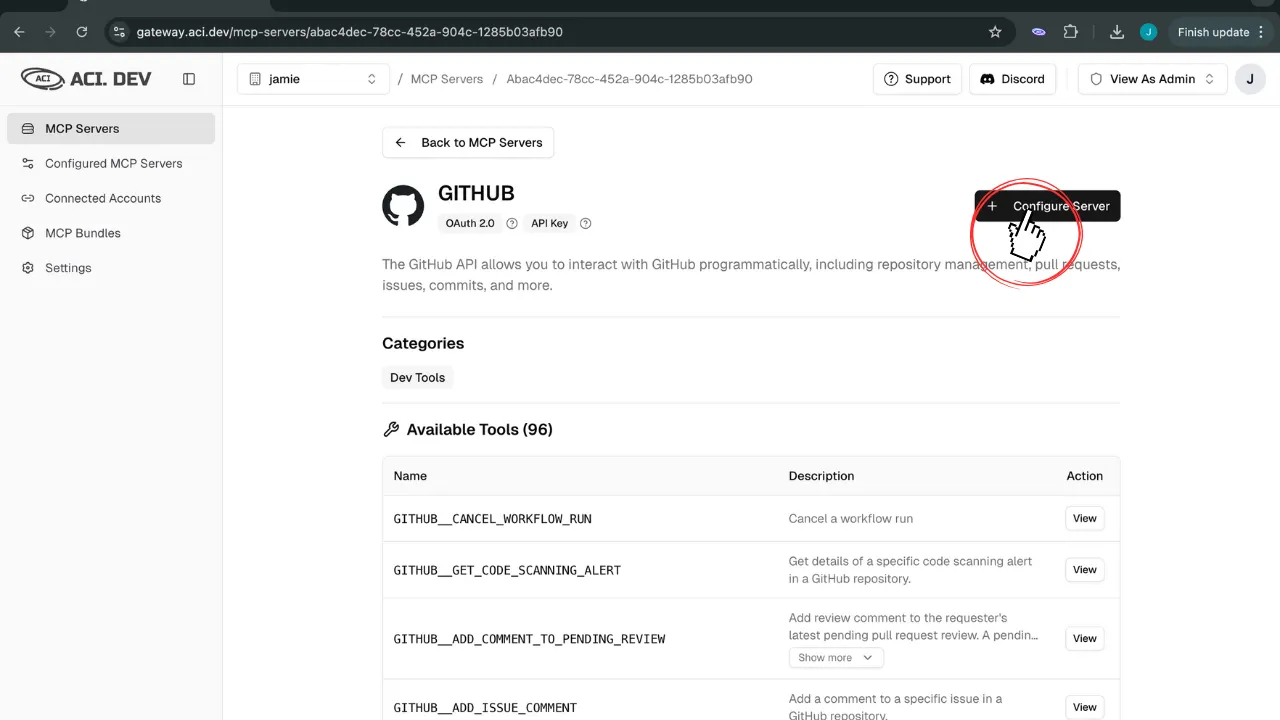
Intermediary steps:
- Add configuration details
- Choose authentication method
- Choose connect account type
- Select function/tool permissioning
Create Team and Assign Members
Create a new team and assign members to your team.
Navigate to and click 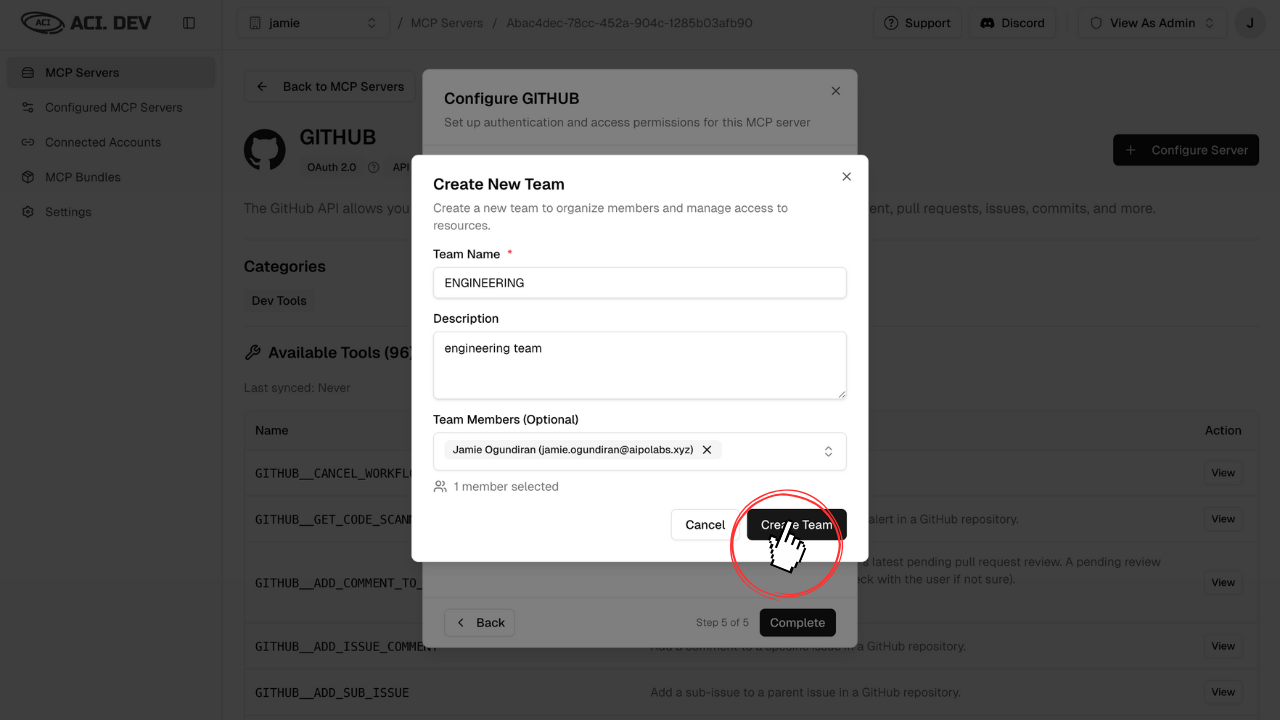
Create Team and add team members.Each team gets its own MCP bundle with specific access controls based on your organization’s governance policies.

Member View
Switch to Member View
Switch from the admin view to the member view using the switcher in the top navigation.
This lets you connect accounts and access bundles as a member.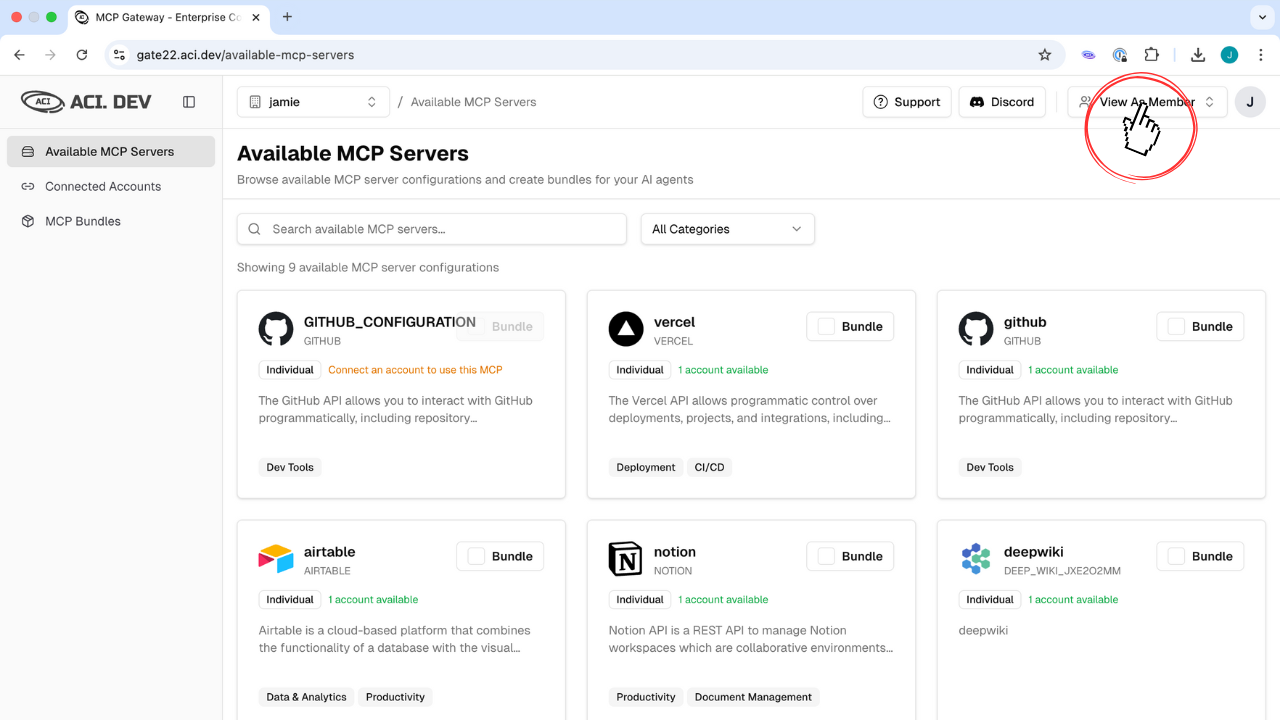
Connect Your Accounts
Connect your accounts with Configured MCP and other services.
Navigate to the Connected Accounts page and click 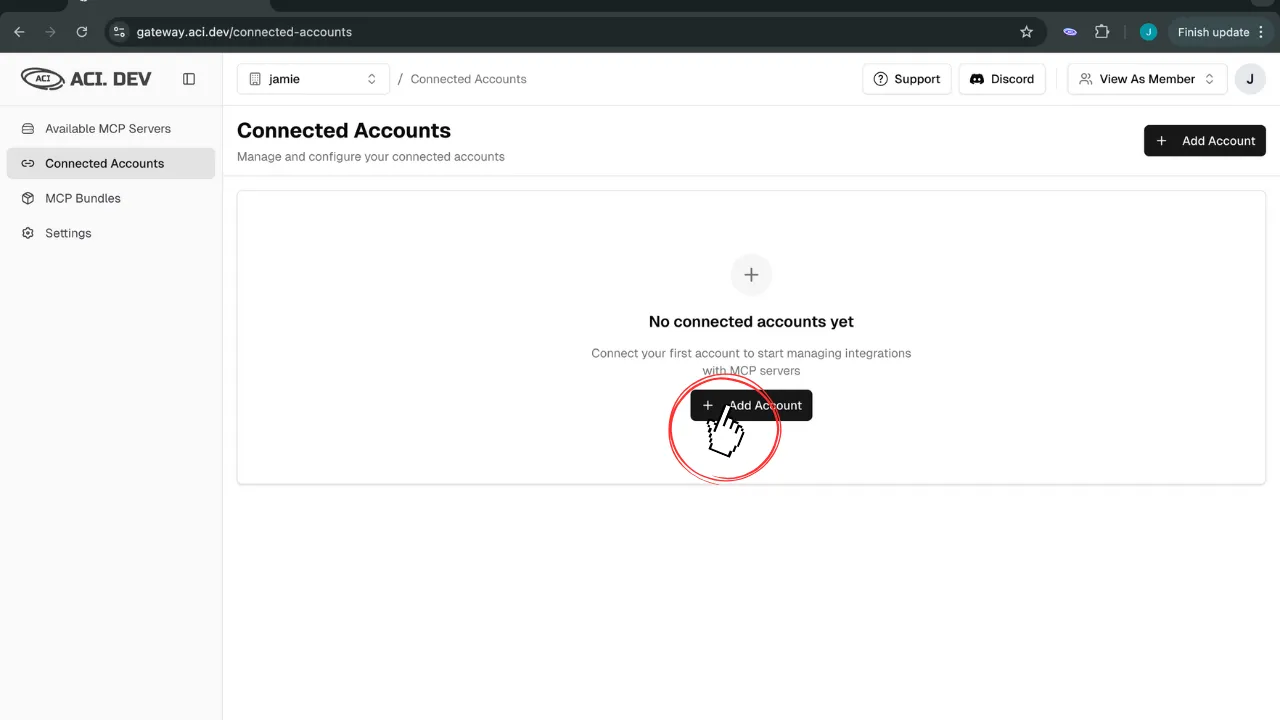
Connect Account for each MCP server you need to access. Follow the OAuth or API key flow to link your accounts securely.Create MCP Bundles
Combine multiple MCPs into a Unified MCP Server.
Your admin has configured which MCP servers you can access. Gate22 automatically bundles them into a single, optimized Unified MCP Server using just two functions: 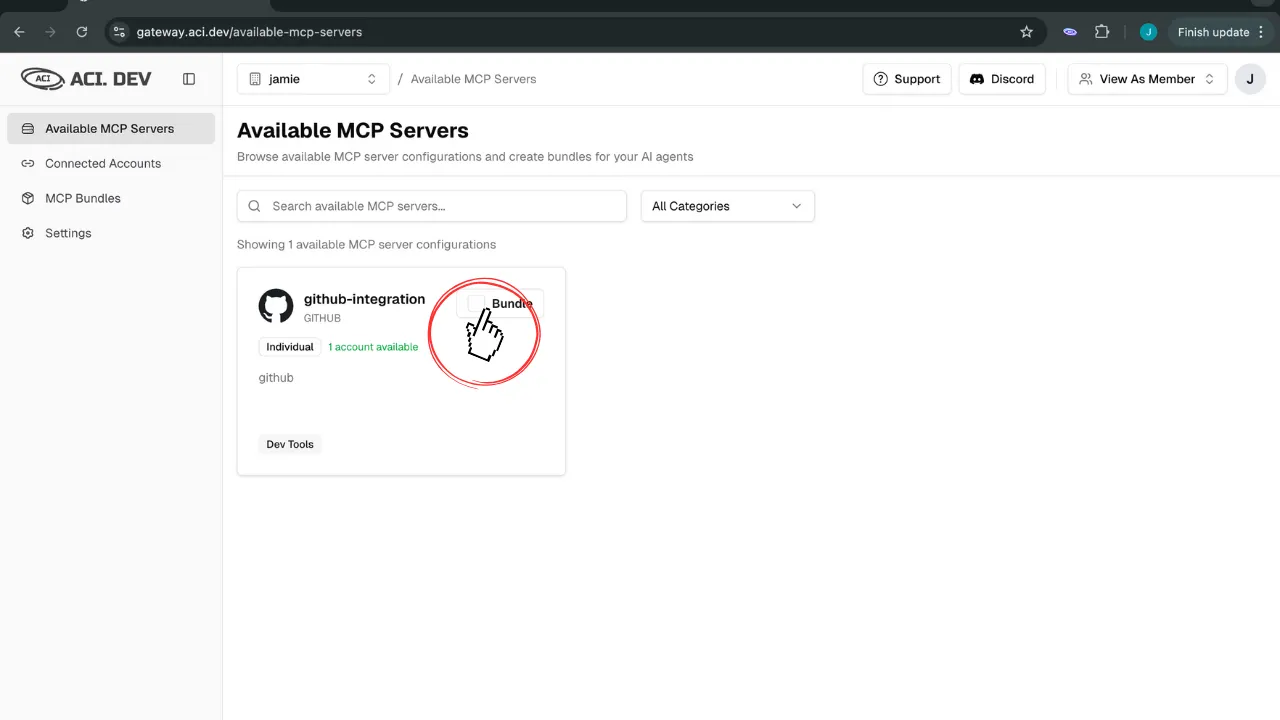
search and execute.Copy MCP URL
Get your unique MCP bundle URL.
From the Bundle MCP page, copy the MCP bundle URL. This URL functions like a service token and maintains all organizational security controls.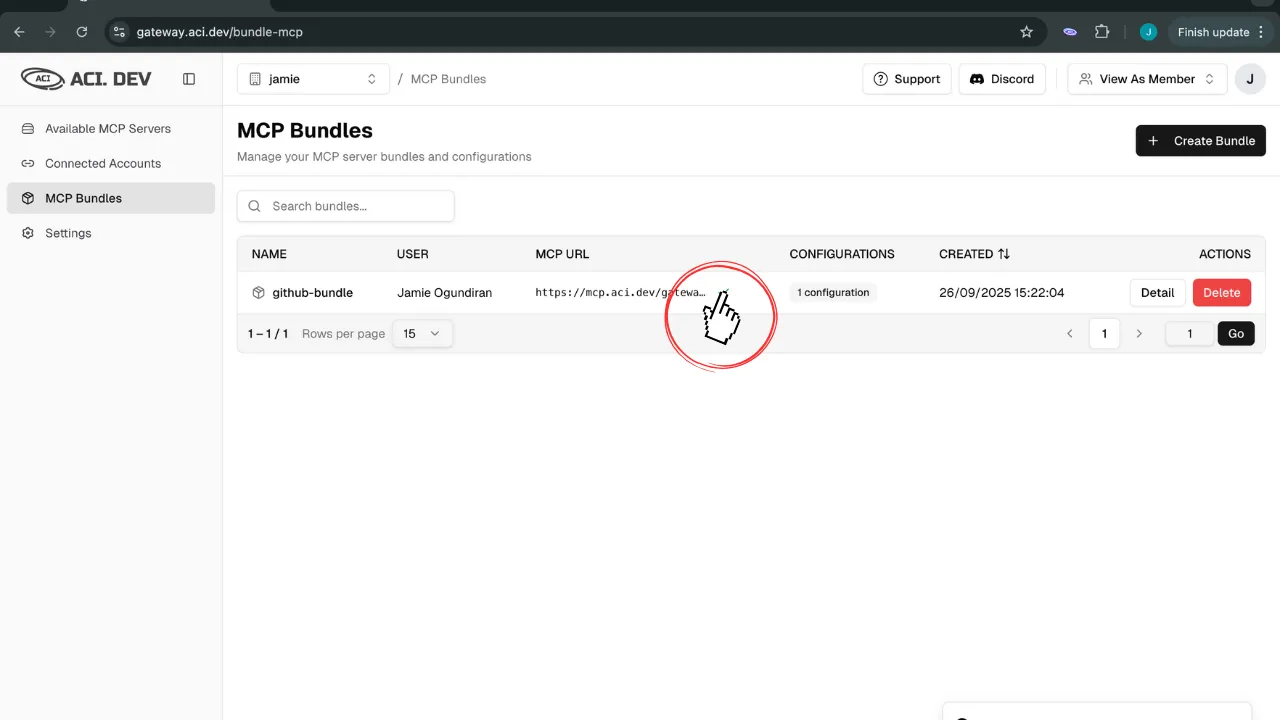
Connect to Your AI Tools
Integrate with AI Tools
Connect your bundle URLs to Claude, ChatGPT Dev Mode, or other AI platforms.
Open your AI tool settings and navigate to the integrations or connectors section.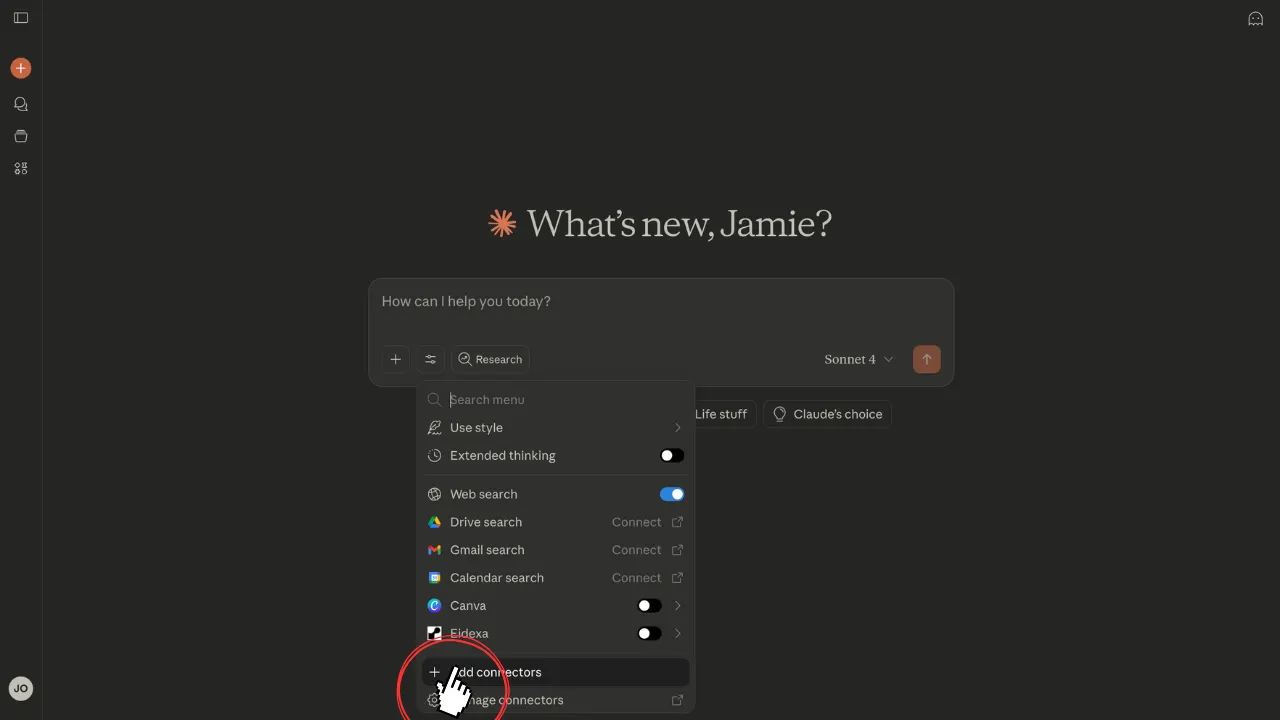
Add Custom Connectors
Add your MCP bundle URL as a custom connector.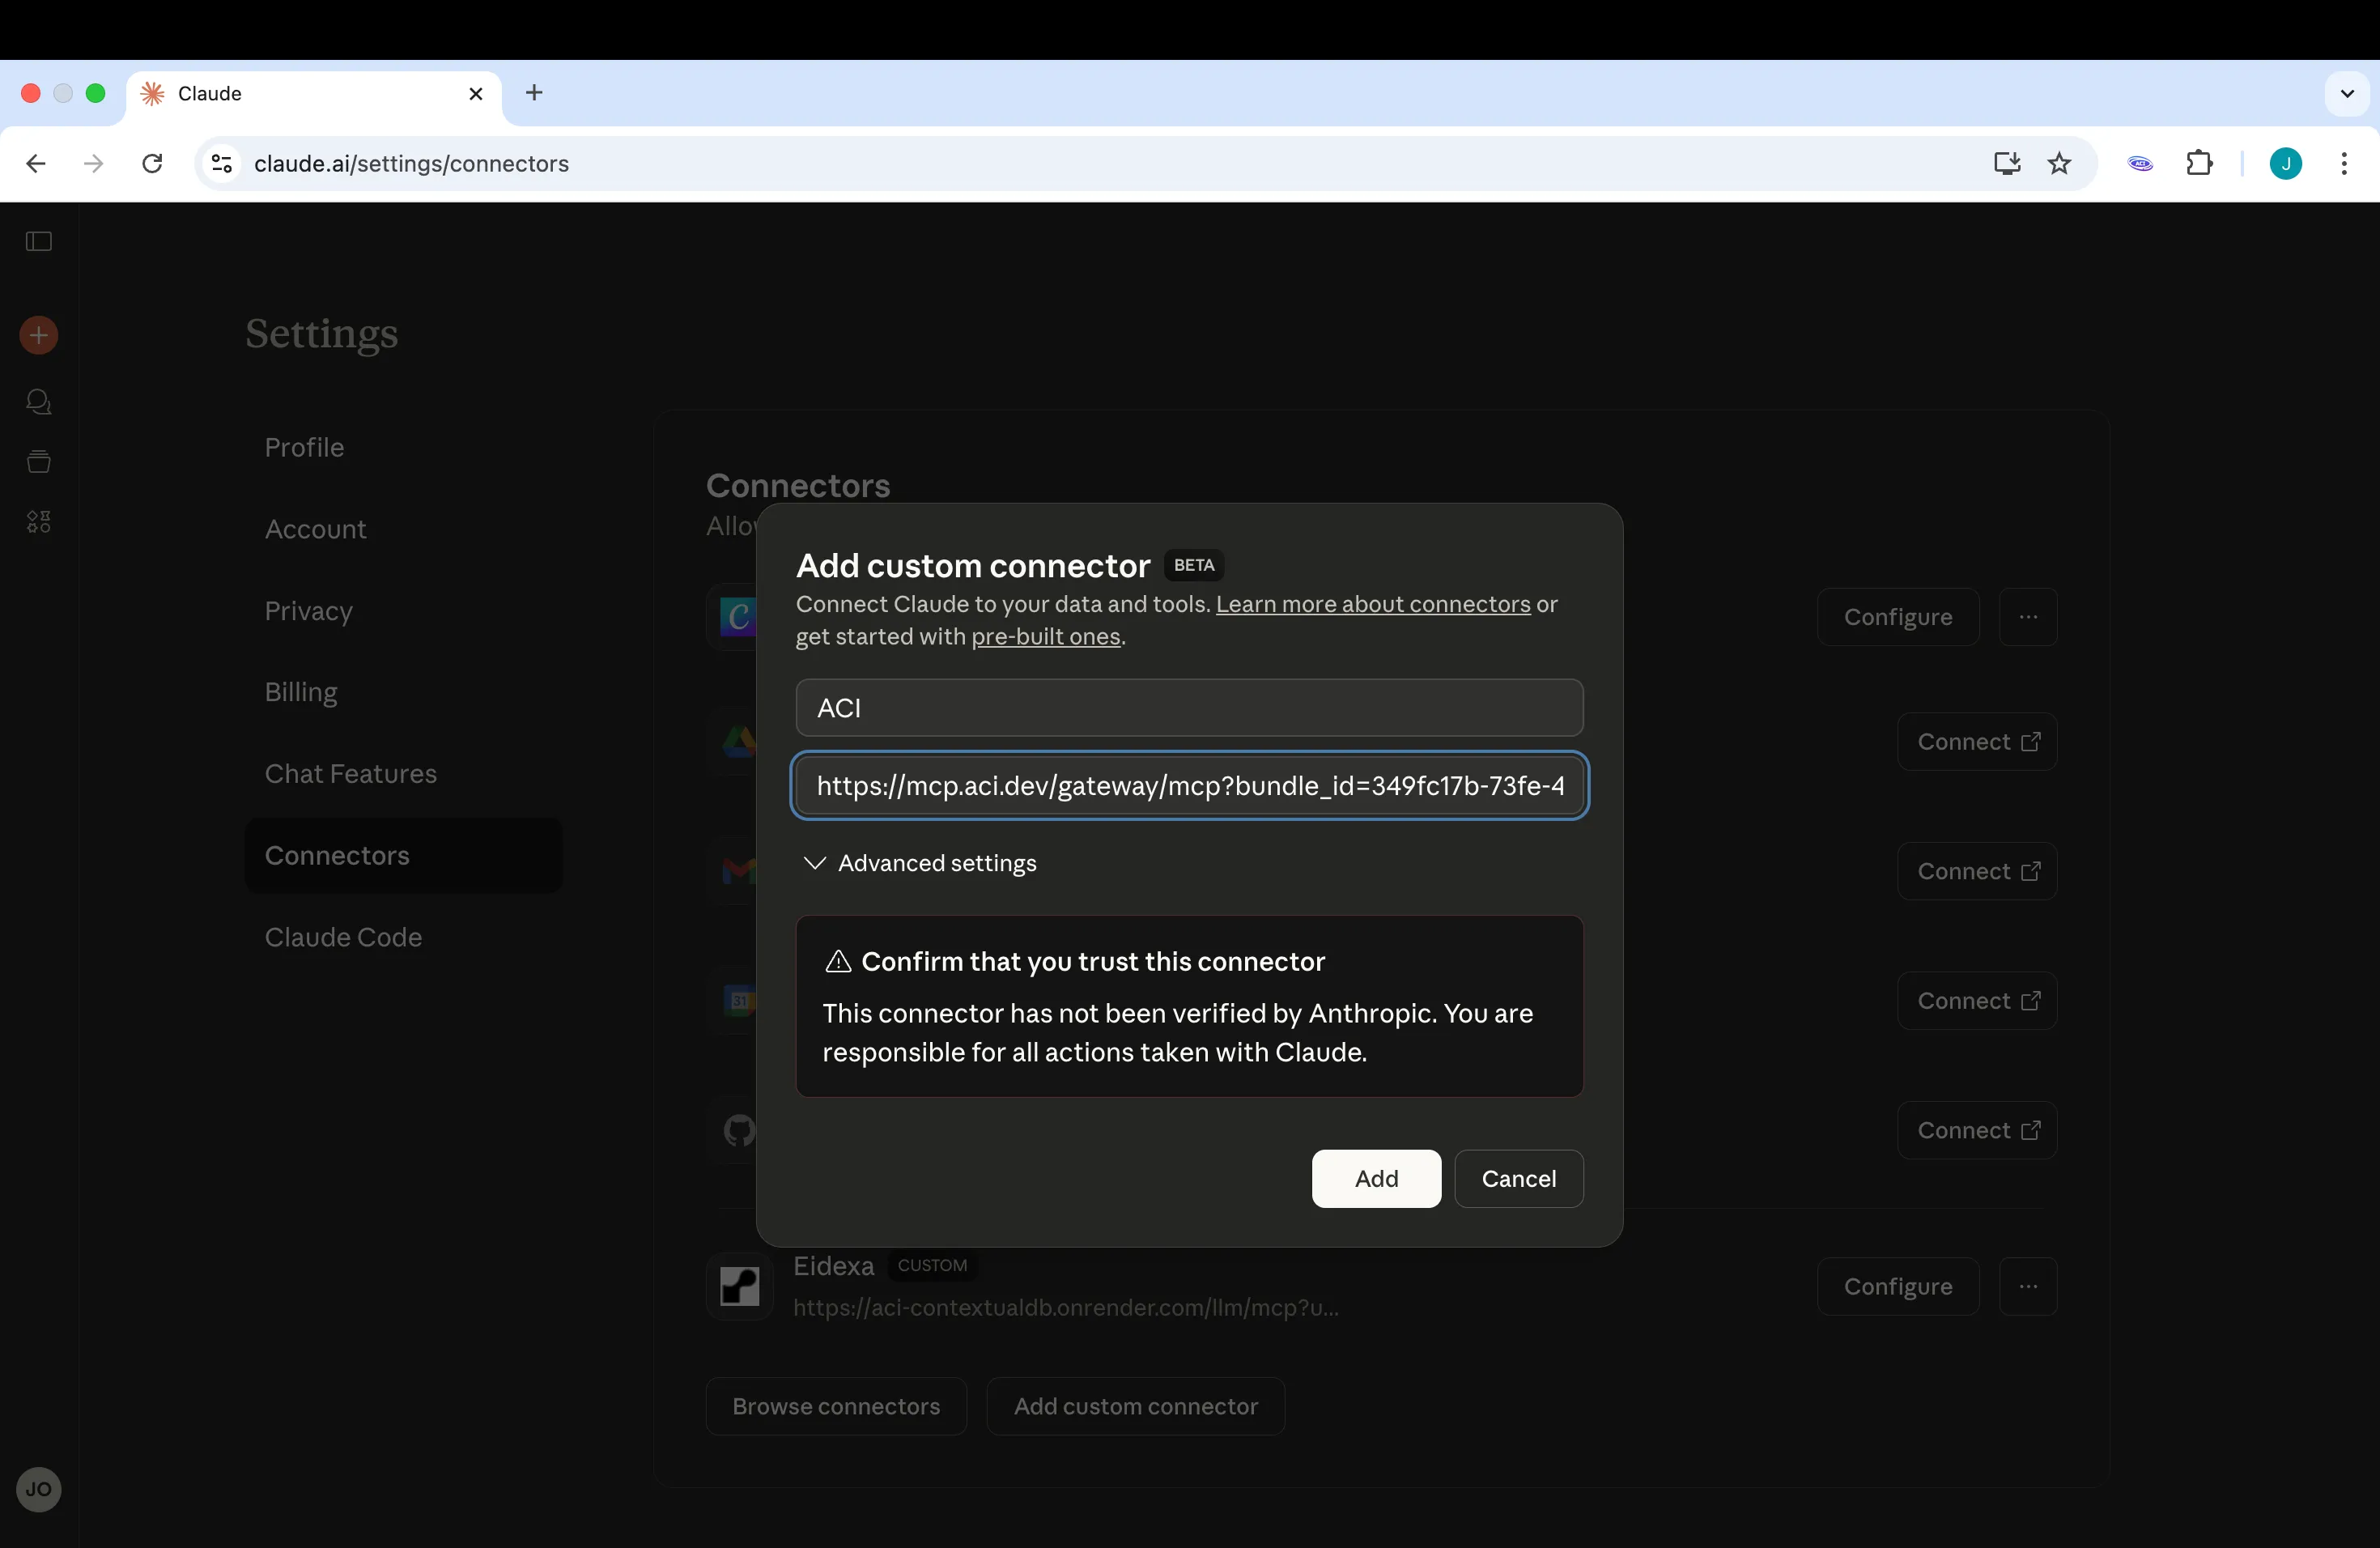
- In Claude, select
Add Custom MCP Server - Paste your MCP bundle URL
- Save the configuration
Start Building
Enable your team to create powerful AI workflows with full governance.
Your AI assistant can now access all approved MCP functions through the unified MCP bundle. All organizational permissions and controls remain in effect, ensuring secure and compliant AI tool usage.
Using the Unified Interface
Once connected, you interact with all approved MCP servers through a simplified interface:- search — Discover available MCP functions and their capabilities
- execute — Run approved functions with automatic permission enforcement
Monitor and Govern
For Admins: Navigate to the Admin Console to:- View real-time MCP usage patterns across your organization
- Track which functions are being called and by whom
- Adjust permissions and access controls as needed
Next Steps
Admin Guide
Manage organizations, teams, and access permissions
Member Guide
Discover available MCP servers and connect your accounts
MCP Servers Intro
Learn about Apps and Unified MCP servers