Overview
This guide walks you through connecting Claude Code CLI to your Gate22 unified MCP server.Prerequisites
Before starting, ensure you have:- Claude Code CLI installed on your machine
- A Gate22 account with at least one configured MCP bundle
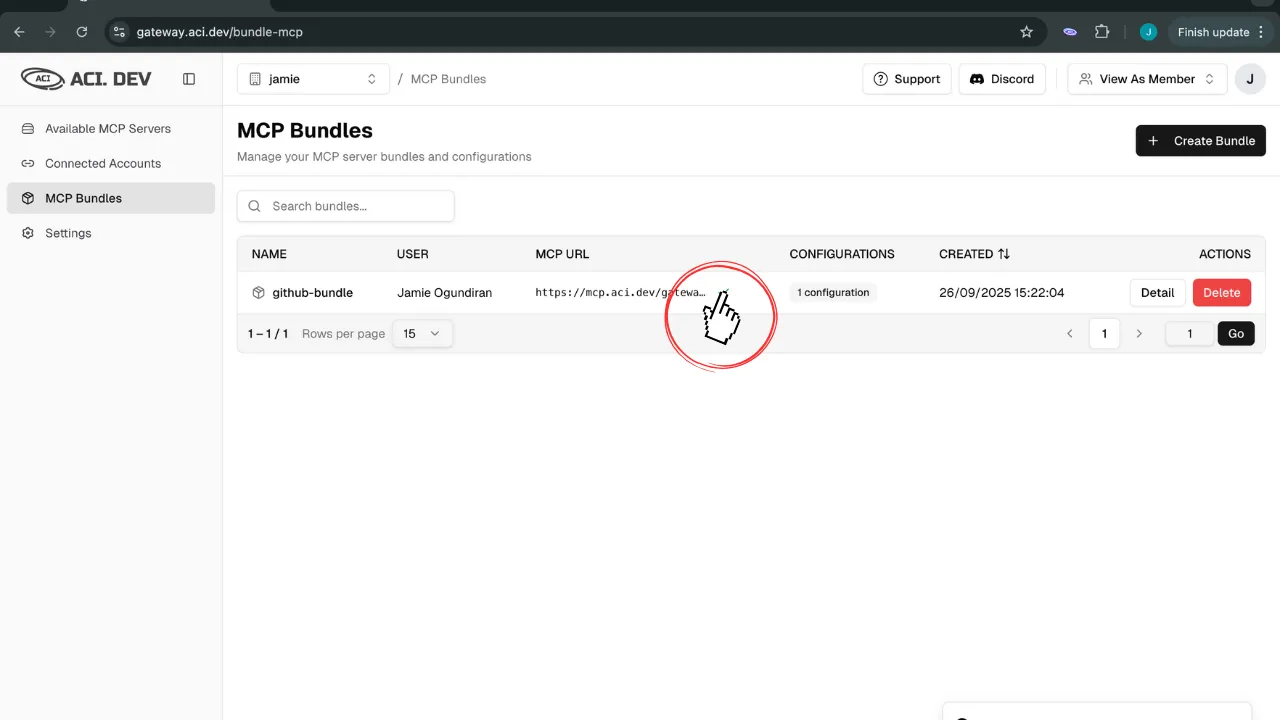
Step 1: Get Your MCP Bundle URL
- Navigate to your MCP Bundles in the Gate22 dashboard
- Click on the bundle you want to connect
- Copy the MCP URL displayed
Step 2: Add Gate22 Server to Claude Code
Method 1: Using CLI Command (Recommended)
Use theclaude mcp add command to configure your Gate22 bundle:
YOUR_BUNDLE_KEY_HERE with your actual MCP bundle URL from Step 1.
Method 2: Direct Configuration File
Alternatively, you can directly edit the Claude Code configuration file: Location:~/.claude.json
Add this configuration:
Step 3: Verify Claude Code has access to the Gate22 server
- Start Claude Code and use the
/mcpcommand - You should see the newly added Gate22 MCP server
Step 4: Test Your Gate22 Bundle
In Claude Code, use the/mcp command - you should see that the Gate22 server is ”✔ connected”:
Test the Gate22 tools by asking: